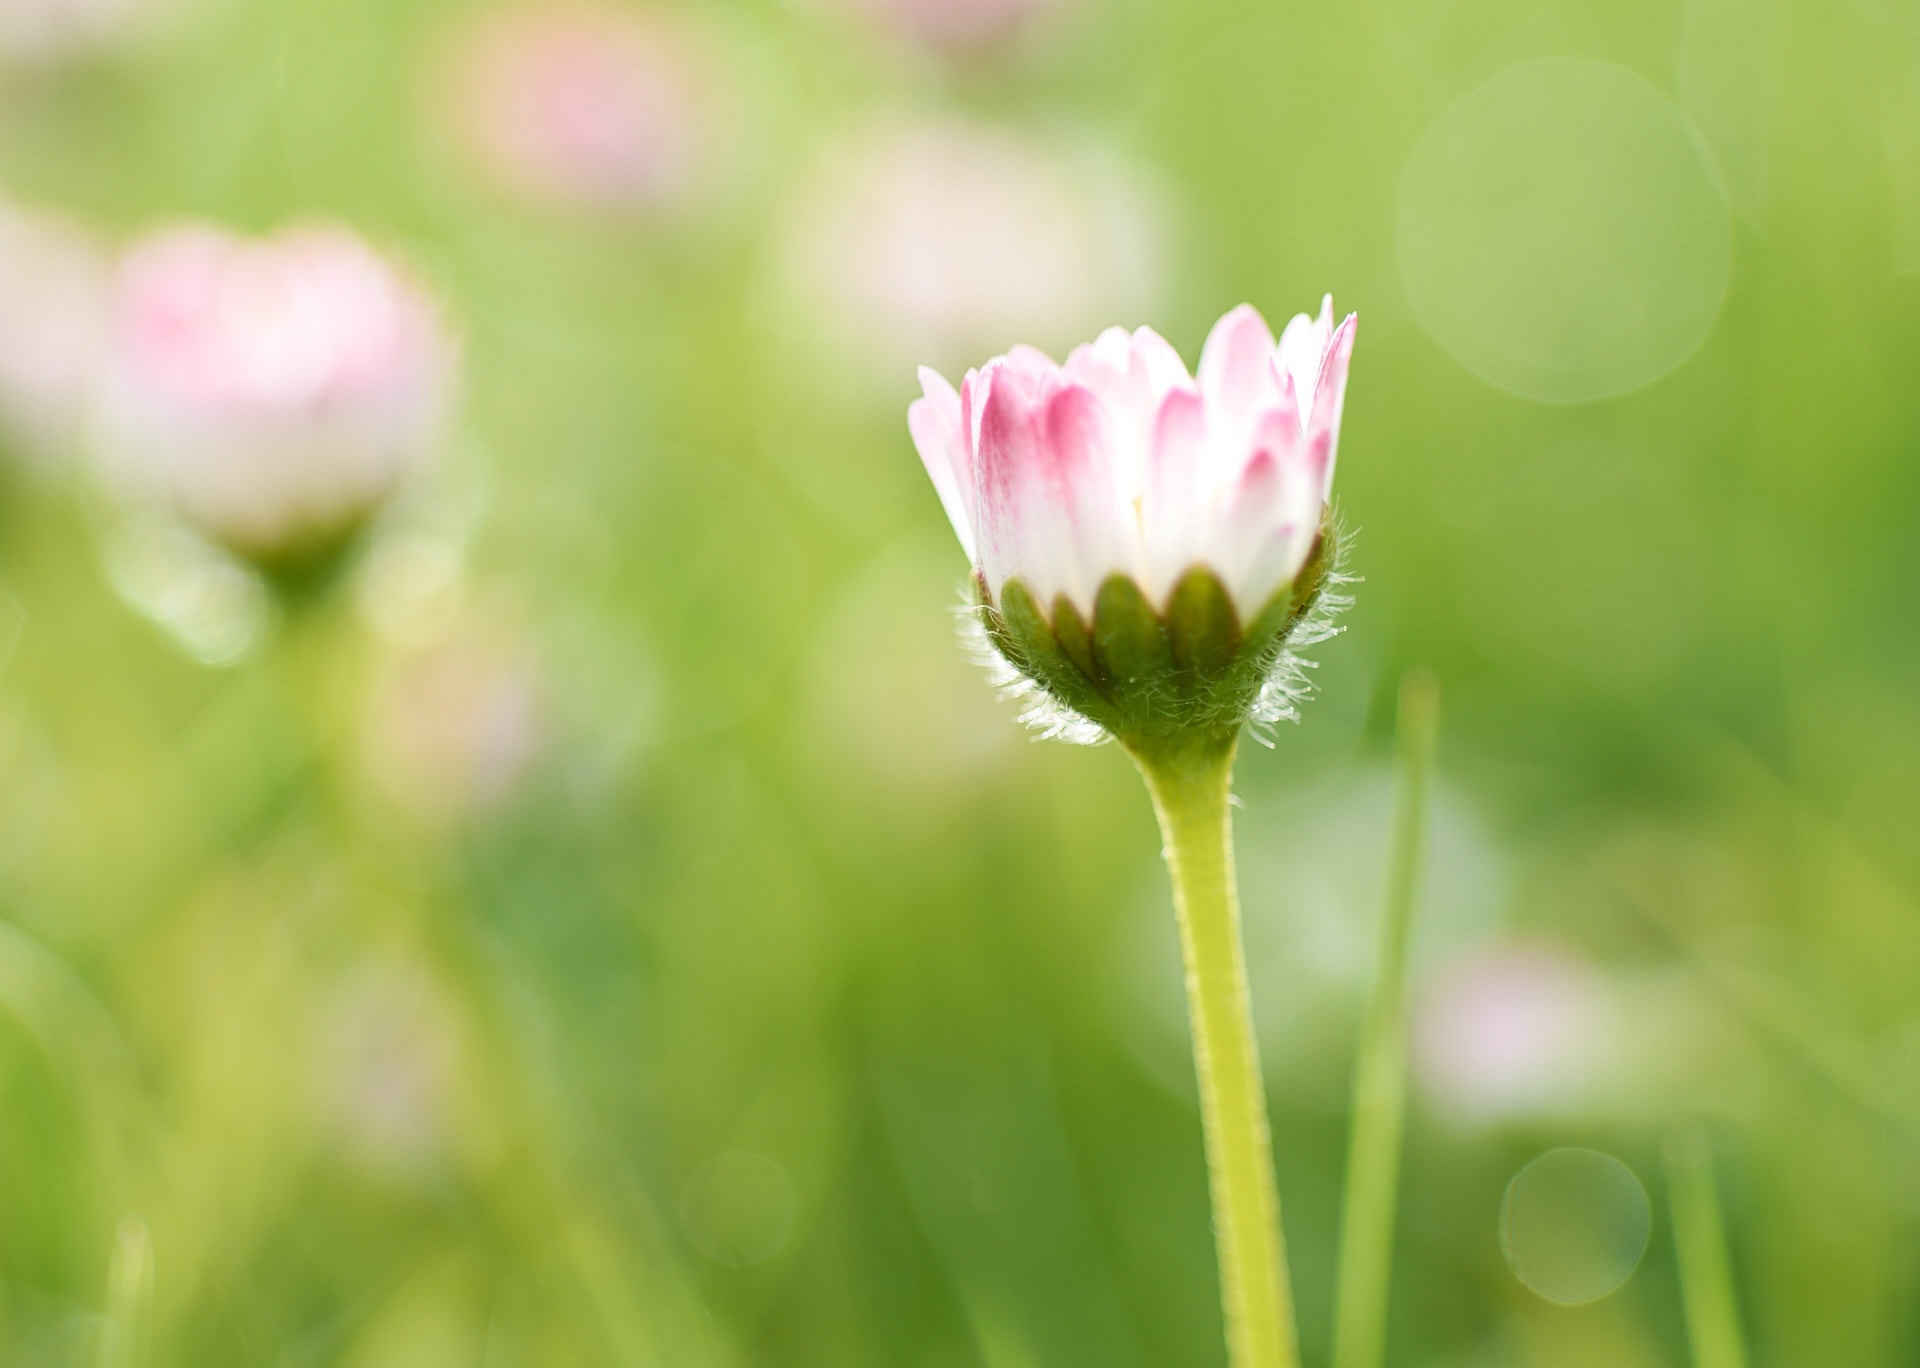
For successful photography, lighting is key. Developing the right photography skills to take on unpredictable lighting is all part of the art, and when it comes to macro photography, it’s no exception.
Here we’ve created a macro photography guide with macro lighting tips to help you get the best shot. If you’re unfamiliar with macro photography, it’s about shooting small things such as insects, water droplets, or staged miniature scenes. To capture beautiful macro shots, here are our best tips on macro photography lighting, including when to use natural light and when to reach for artificial lighting.
The Best Settings for Macro Photography
The best macro shots are sharp and vibrant, but capturing these images is impossible without the best light for macro photography and the suitable settings to make subjects appear larger than life. Here are the ideal macro photography settings:
- Shoot in Manual Mode. Or, at the very least, shoot in aperture priority mode. This allows you to adjust the look of your images with chosen key settings of the exposure triangle.
- Use a Lower ISO. A lower ISO setting is required for less image noise, so start low at ISO 100 or similar and raise as necessary, depending on what is needed to achieve your desired shutter speed and aperture.
- Choose a Smaller Aperture. This one’s probably a creative, personal preference, but remember that a smaller f-stop means a larger aperture opening, creating shallower field depthsield. Experiment with this setting and decide on your final f-stop, depending on how much of the image you want to be in focus.
- Opt for a Quick Shutter Speed. To prevent camera shake, the shutter speed needs to be fast enough. Since the focus is critical for macro shots, even the smallest movement can cause blur. We suggest using a faster shutter speed than you usually need for sharp handheld shots of 1/250 a second or similar.
Harness the Power of Natural Light
As with various photography styles, the best natural macro photography lighting is on overcast days, not bright sunny days. This is because clouds act as natural light diffusers, dispersing sunlight evenly. A harsh sun reflection or heavily-contrasted shadows might appear on that tiny, shiny beetle.
If you photograph a subject by a window, you’ll find the natural light diffused through the window quite suitable for macro lighting. If you’re shooting outdoors on a sunny day, use diffusers, such as umbrellas, to filter the direct sunlight. You can also use reflectors to inject light into darker portions of your images, particularly when your subject is in the shade.’
Reach for Artificial Light when Necessary
Sometimes, artificial lights may be needed; for some macro photographers, they might be preferred for consistency and style. Even with the best camera settings for macro photography, there are a couple of brilliant photography lighting options to help you get the perfect shot:
- Ring lights. Favored by close-up enthusiasts, light ring tripods are notable for providing soft, steady lighting. They surround your lens, reduce the risk of casting a shadow for close-up work, and ensure the light provided is cast evenly across the frame. Understanding their purpose will help you learn how to use ring lights.
- Constant LED lights. While flashes have been used for macro photography lighting, LED lighting is now a common fixture in most close-up camera bags. They have heaps of benefits, such as portability, and their constant output allows you to see their effect in real-time and make any necessary adjustments instantly.
Our Bonus Macro Photography Tips
- Change your lighting position. Consider mounting an off-camera light or standing so natural lighting is backlighting your subject to achieve a look known as rim lighting. Alternatively, side-lighting can help to emphasize textures and details, such as the veins running through leaves.
- Experiment with color temperature. While real-to-life color temperatures create beautiful work, adjusting the color temperature produces some of our favorite and inventive macro photography. This can be achieved in camera or post-production.
With these tips under your wing, it’s time to experiment with macro photography to capture extreme close-ups most effectively. To shop for all your camera kits, visit Ted’s Cameras online store.
